
Key Takeaways
- Clear, well-lit source portraits make identity details easier to preserve.
- A simple scene and intentional placement usually produce a more natural group arrangement.
- Matching light direction, camera angle, and face size prevents a pasted-in appearance.
- Comparing several drafts is often more effective than overcorrecting one version.
- Consent, context, and disclosure are essential when using someone’s likeness.
Table Of Contents
- Why Group Portraits Need More Planning
- Choose The Right Source Photos
- Plan The Scene Before Editing
- Keep Faces Consistent
- Match Lighting And Perspective
- Review And Refine The Result
- Use AI Images Responsibly
- Practical Use Cases
- Final Quality Checklist
- Conclusion
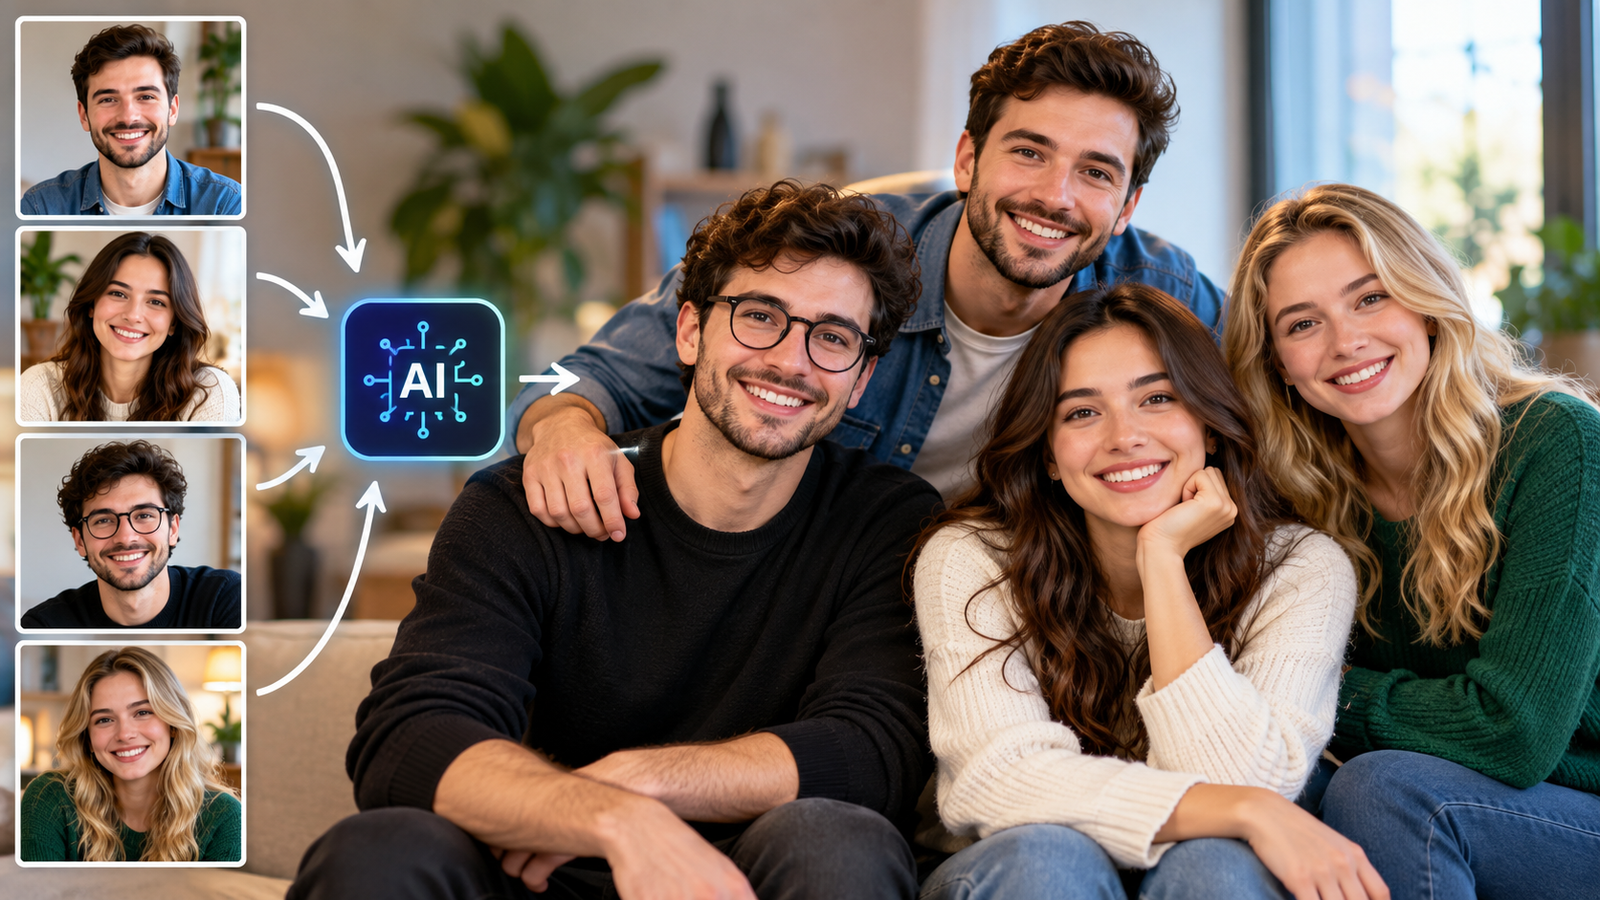
Creating a convincing group portrait from separate photos takes more than placing several faces into the same frame. A multiple face swap workflow can help assemble a creative group image, but the final result depends on strong source images, a planned composition, and a careful review process. The goal is not simply to make every person visible. It is to make the scene feel visually coherent while preserving each person’s recognizable features.
Whether you are making a family keepsake, a remote-team visual, an event invitation, or an early concept for a poster, start with a realistic standard. A believable image should have consistent scale, perspective, lighting, and expressions. It should also be used with permission and presented clearly so that viewers cannot otherwise mistake it for an unedited photograph.
Why Group Portraits Need More Planning
A single-person edit asks the image system to maintain one subject. A group portrait adds relationships between subjects: who stands in front, whose shoulder overlaps, where each person looks, and how large each head appears in the frame. Small inconsistencies become more obvious because viewers compare people side by side.
For example, a team portrait built from separate headshots can fail when one person appears much closer to the camera, another has dramatically different lighting, or everyone seems to be looking in a different direction. Planning the result before editing reduces random experimentation and makes it easier to spot what needs correction.
Choose The Right Source Photos
Use portraits that show the person clearly. Front-facing or lightly angled photos are generally easier to match to a shared scene than extreme side profiles. Choose images with visible eyes, a natural expression, and enough detail around the hairline, ears, and jaw.
Source Photo Preparation Checklist
- Prefer sharp images with the face in focus.
- Avoid sunglasses, heavy beauty filters, motion blur, and strong shadows when possible.
- Use photos with similar crops and resolution for more even results.
- Pick images that show the person at an angle compatible with the planned pose.
- Keep the original files available in case a new version is needed later.
Plan The Scene Before Editing
Decide what the portrait needs to do before choosing backgrounds, poses, or styling. A formal employee directory image calls for a different arrangement than a playful birthday invitation. Write a short brief that identifies the setting, mood, wardrobe direction, camera height, and where each person will appear.
When recognizable faces matter most, keep the setting uncomplicated. Open space between subjects helps avoid accidental overlap around hair, shoulders, and hands. It also makes review easier because each face can be inspected without competing visual details.
Keep Faces Consistent
The best group portraits balance two priorities: each person should look like themselves, and everyone should belong in the same image. Review distinctive identity cues, including face shape, eye spacing, hairstyle, hairline, skin tone, and usual expression. A person does not need to look perfectly posed to remain recognizable.
If one face feels less accurate than the others, make a focused correction rather than repeatedly rebuilding the full scene. Changing the entire image can unintentionally alter faces that were already working well. Save promising versions so you can compare changes instead of relying on memory.
Match Lighting And Perspective
Lighting is one of the clearest tests of realism. If the key light falls from the left, faces should show highlights and shadows that support that direction. Skin tones should also share a compatible color temperature, whether the image is meant to feel like daylight, indoor window light, or a studio setup.
Perspective matters just as much. People placed farther back should normally appear smaller, while faces near the camera should not look unusually sharp or oversized beside the rest of the group. Apply final color and contrast adjustments to the full image when possible, rather than processing every face in isolation. Guidance on digital content transparency can also help teams think through labeling and provenance for synthetic media.
Review And Refine The Result
- Create more than one draft when your workflow allows it.
- Inspect the portrait at normal viewing size and at full resolution.
- Check facial features, hands, teeth, ears, glasses, jewelry, and clothing details.
- Look for repeated textures, warped accessories, or background objects that do not make sense.
- Choose the strongest overall composition before making final touch-ups.
A thumbnail can hide errors that become obvious on a large display or in print. Give the image a short pause before the final review, then inspect it again with fresh attention.
Use AI Images Responsibly
Get permission from everyone whose likeness will be used, especially before publishing or distributing the final image. Do not use AI editing to put someone in an embarrassing, deceptive, intimate, or otherwise unwanted scenario. Extra care is appropriate when children, employees, public figures, or sensitive events are involved.
Label the image when its context could lead viewers to believe it documents a real gathering or event. Clear disclosure supports trust, while deceptive identity use can contribute to the same concerns raised by impersonator scams. A simple note such as “AI-assisted composite portrait” may provide useful context without distracting from the image.
Practical Use Cases
- Remote teams: Create a shared visual when colleagues cannot be photographed together.
- Family keepsakes: Design a creative composite when travel or schedules prevent a group session.
- Events: Develop themed invitations, reunion graphics, or celebration artwork.
- Entertainment concepts: Explore promotional layouts before committing to a full photo shoot.
- Story development: Build visual references for fictional characters, posters, or early production materials.
Final Quality Checklist
- Is every person recognizable and respectfully represented?
- Do faces have a similar level of detail and sharpness?
- Do lighting, shadows, and color feel consistent?
- Are head sizes, body proportions, and camera angles believable?
- Are hands, glasses, teeth, jewelry, and clothing free from obvious errors?
- Does the image remain clear after cropping or resizing?
- Has each person given permission for the intended use?
- Does the final context call for an AI-generated or AI-assisted disclosure?
Conclusion
Believable AI-assisted group portraits come from preparation, not luck. Start with strong photos, plan the scene with intention, match lighting and perspective, and review every person closely before sharing. The most effective result feels unified, preserves individual identity, and remains transparent about how it was created.
